Uncategorized files
Jump to navigation
Jump to search
Showing below up to 50 results in range #1 to #50.
-
1.1.1 Crate Control.jpg 2,560 × 1,440; 108 KB
-
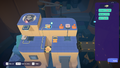 1.1.1 Crate Control Solution.png 2,560 × 1,440; 1.53 MB
-
1.1.2 Bounce.jpg 2,560 × 1,440; 433 KB
-
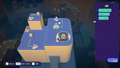 1.1.2 Bounce House Solution.png 2,560 × 1,440; 1.42 MB
-
1.1.3 Bot Box Paradox.jpg 2,560 × 1,440; 425 KB
-
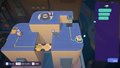 1.1.3 Bot Box Paradox Solution.png 2,560 × 1,440; 1.52 MB
-
1.1.4 Hatch Back.jpg 2,560 × 1,440; 422 KB
-
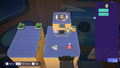 1.1.4 Hatch Back Solution.png 2,560 × 1,440; 1.62 MB
-
1.1.5 Trapdoor Trio.jpg 2,560 × 1,440; 506 KB
-
 1.1.5 Trapdoor Trio Solution.png 2,560 × 1,440; 1.96 MB
-
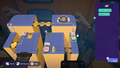 1.1.6 Precarious Footing Solution.png 2,560 × 1,440; 1.68 MB
-
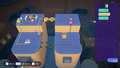 1.2.1 Sit Tight Solution.png 2,560 × 1,440; 1.59 MB
-
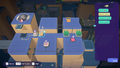 1.2.2 Airlock Solution.png 2,560 × 1,440; 1.68 MB
-
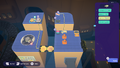 1.2.3 Air Mail Solution.png 2,560 × 1,440; 1.69 MB
-
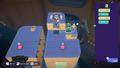 1.2.4 Synergy Solution.png 2,560 × 1,440; 1.65 MB
-
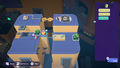 1.2.5 Obstruction Solution.png 2,560 × 1,440; 1.6 MB
-
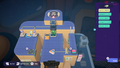 1.2.6 Stacked Shift Solution.png 2,560 × 1,440; 1.62 MB
-
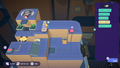 1.2.7 On the Up and Up Solution.png 2,560 × 1,440; 1.65 MB
-
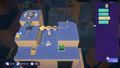 1.2.8 Overpass Solution.png 2,560 × 1,440; 1.64 MB
-
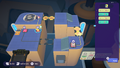 1.2.9 Backtrack Solution.png 2,560 × 1,440; 1.59 MB
-
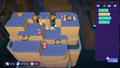 1.3.1 Take Turns Grabber Solution.png 2,560 × 1,440; 1.68 MB
-
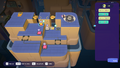 1.3.1 Take Turns Walker Solution.png 2,560 × 1,440; 1.69 MB
-
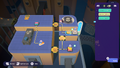 1.3.2 Leap Frog Grabber Solution.png 2,560 × 1,440; 1.78 MB
-
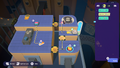 1.3.2 Leap Frog Walker Solution.png 2,560 × 1,440; 1.79 MB
-
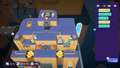 1.3.3 Road Block Grabber Solution.png 2,560 × 1,440; 1.76 MB
-
 1.3.3 Road Block Walker Solution.png 2,560 × 1,440; 1.74 MB
-
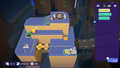 1.3.4 Launch Sequence Grabber Solution.png 2,560 × 1,440; 1.7 MB
-
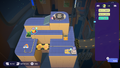 1.3.4 Launch Sequence Walker Solution.png 2,560 × 1,440; 1.69 MB
-
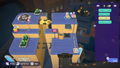 1.3.5 Synchronized Sequence Grabber Solution.png 2,560 × 1,440; 1.96 MB
-
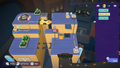 1.3.5 Synchronized Sequence Walker Solution.png 2,560 × 1,440; 1.95 MB
-
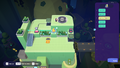 2.1.1 Emission Solution.png 2,560 × 1,440; 1.79 MB
-
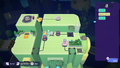 2.1.2 Dumbwaiter Solution.png 2,560 × 1,440; 1.78 MB
-
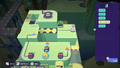 2.1.3 avoidance solution.png 2,560 × 1,440; 1.78 MB
-
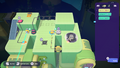 2.1.4 Isolation Grabber Bot Solution.png 2,560 × 1,440; 1.93 MB
-
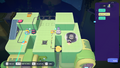 2.1.4 Isolation Laser Bot Solution.png 2,560 × 1,440; 1.92 MB
-
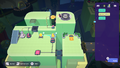 2.1.5 Liftman Laser Bot Solution.png 2,560 × 1,440; 1.85 MB
-
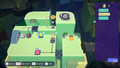 2.1.5 Liftman Walker Bot Solution.png 2,560 × 1,440; 1.87 MB
-
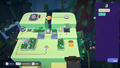 2.1.6 Center Shot Solution.png 2,432 × 1,368; 1.93 MB
-
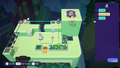 2.1.7 High-Rise Solution.png 2,560 × 1,440; 1.83 MB
-
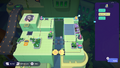 2.1.8 Bridgekeeper Solution.png 2,560 × 1,440; 1.82 MB
-
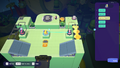 2.2.1 Disruptor Solution.png 2,560 × 1,440; 1.94 MB
-
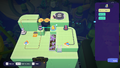 2.2.2 Sling Shot Solution.png 2,560 × 1,440; 1.85 MB
-
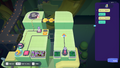 2.2.3 Charge Shot Solution.png 2,560 × 1,440; 1.92 MB
-
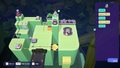 2.2.4 Extra Crate Solution.png 2,560 × 1,440; 1.91 MB
-
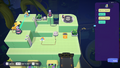 2.2.5 Take Off Solution.png 2,560 × 1,440; 1.82 MB
-
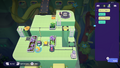 2.2.6 Bot Crossing Laser Bot Solution.png 2,560 × 1,440; 1.91 MB
-
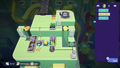 2.2.6 Bot Crossing Walker Bot Solution.png 2,560 × 1,440; 1.91 MB
-
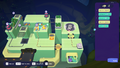 2.2.7 Transference Grabber Bot Solution.png 2,560 × 1,440; 1.83 MB
-
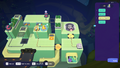 2.2.7 Transference Laser Bot Solution.png 2,560 × 1,440; 1.82 MB
-
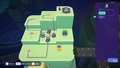 2.3.1 Jump and Bump Solution.png 2,560 × 1,440; 1.55 MB





